Ingredients
– 200g dark chocolate (70% cocoa or higher) acts as the rich, antioxidant-rich base
– 150g pitted dates provide natural sweetness and chewy texture
– 50g chopped nuts (e.g., almonds or walnuts) add crunch and healthy fats
– 1 tsp sea salt enhances flavor contrast
Instructions
1-Step 1: Preparation First, gather all your ingredients and prepare a lined baking sheet to spread the bark on. This step ensures you have everything you need within reach and prevents any scrambling mid-recipe. A parchment-lined baking sheet will make removing the finished bark easy without sticking.
2-Step 2: Preparing the Chocolate Next, chop the dark chocolate into small pieces for even melting. This is especially important if you’re using chocolate bars rather than chips, as uniform pieces will melt more consistently and prevent scorching.
3-Step 3: Melting the Chocolate Melt the chocolate gently using a double boiler or microwave in 30-second intervals, stirring regularly. This gradual approach prevents the chocolate from seizing or burning, which can happen with high heat. If using a microwave, be sure to stir between each interval to ensure even melting.
4-Step 4: Preparing Add-ins While the chocolate melts, finely chop the pitted dates and nuts. Having these ready before you pour the chocolate ensures you can add them while the chocolate is still soft enough for them to adhere properly.
5-Step 5: Spreading the Chocolate Pour the melted dark chocolate onto the baking sheet and spread evenly. Aim for a thickness of about ¼ inch, which provides a nice ratio of chocolate to toppings while being thin enough to break into satisfying pieces later.
6-Step 6: Adding Toppings Sprinkle chopped dates and nuts over the melted chocolate before it sets, pressing lightly. This helps the toppings stick to the chocolate rather than falling off when you break the bark into pieces later.
7-Step 7: Seasoning Optionally, sprinkle a pinch of sea salt to enhance flavors. The salt creates a delicious contrast with the sweetness of the dates and the richness of the chocolate, making each bite more flavorful.
8-Step 8: Setting the Bark Place the baking sheet in the refrigerator for at least 1 hour to harden. This step is crucial for achieving that satisfying snap when you break the bark later.
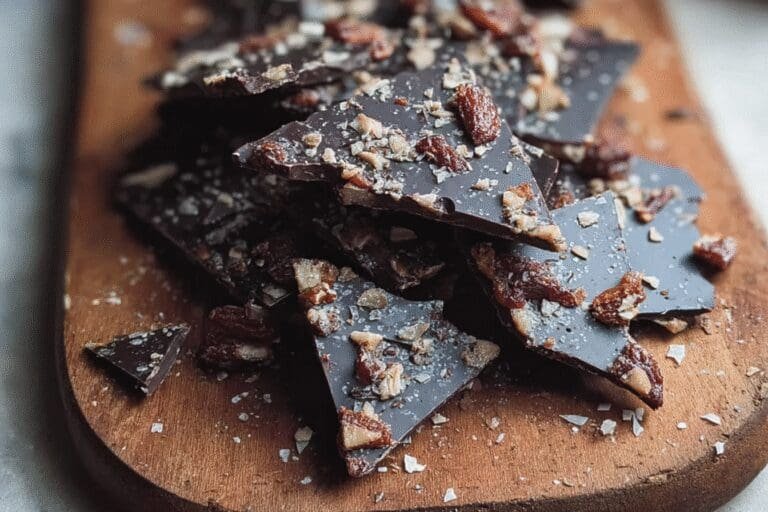
9-Step 9: Finishing Break the set bark into pieces and store in an airtight container. You can make these pieces as large or small as you prefer, depending on how you plan to serve them. Adjust ingredient quantities or types easily for vegan or gluten-free adaptations as needed.
Last Step:
Please leave a rating and comment letting us know how you liked this recipe! This helps our business to thrive and continue providing free, high-quality recipes for you.Notes
🍫 Use high-quality dark chocolate for the best flavor and texture.
🥜 For added crunch, toast the chopped peanuts lightly before use.
❄️ Let the bark set fully in the fridge or freezer to ensure easy breaking and a firm texture.
- Prep Time: 5 minutes
- Chill Time: 10-15 minutes
- Category: Snack, Dessert
- Method: No Bake, Chilling
- Cuisine: American
Nutrition
- Serving Size: 1 piece