Ingredients
– 2 cups all-purpose flour Provides structure and base for the cookies
– 1 cup unsalted butter Adds richness and helps create a tender crumb
– 3/4 cup granulated sugar Sweetens and contributes to texture
– 2 large eggs Bind ingredients and add moisture
– 1 tsp baking powder Leavens the dough for a light texture
– 1 tsp vanilla extract Enhances overall flavor
– plant-based margarine substitute for butter
– flax eggs (1 tablespoon ground flaxseed + 3 tablespoons water per egg) substitute for eggs
– water or plant-based milk for any liquid components
– certified gluten-free flour blend substitute for all-purpose flour
– gluten-free vanilla extract
– gluten-free baking powder
– sugar substitute suitable for baking
– reduced-fat butter alternatives
– applesauce substitute for some of the butter content to reduce calories
Instructions
First Step: Preparation: Preheat your oven to 350°F (175°C) and line baking sheets with parchment paper to ensure smooth baking. The proper oven temperature is crucial for achieving that perfect cookie texture crisp on the edges and soft in the center. Parchment paper prevents sticking and makes cleanup easier. Make sure your baking sheets are completely cool before placing dough on them.
Second Step: Creating the Base: In a large bowl, cream the unsalted butter and granulated sugar together until light and fluffy. This process typically takes 3-5 minutes with an electric mixer on medium speed. The creaming action incorporates air into the mixture, which helps create a tender cookie structure. Stop occasionally to scrape down the sides of the bowl to ensure all ingredients are incorporated evenly.
Third Step: Adding Eggs and Flavor: Beat in the eggs one at a time, ensuring each egg is fully incorporated before adding the next. This step-by-step method prevents the mixture from curdling and ensures even distribution of ingredients. After the eggs are fully mixed in, add vanilla extract to infuse the dough with its classic flavor. The vanilla should be evenly distributed throughout the mixture for consistent flavor in every bite.
Fourth Step: Preparing Dry Ingredients: In a separate bowl, sift together the flour and baking powder to combine dry ingredients evenly. Sifting removes lumps and aerates the flour, resulting in a lighter cookie texture. This step is especially important if your flour has been sitting in the pantry for a while, as it tends to compact over time. Whisk the ingredients together after sifting to ensure even distribution of the baking powder.
Fifth Step: Mixing: Gradually add the dry ingredients to the wet ingredients, mixing until just combined to avoid overworking the dough. Overmixing can develop gluten in the flour, which might make the cookies tough rather than tender. It’s better to have a few small streaks of flour remaining than to overmix. Use a spatula to fold the final bits together gently.
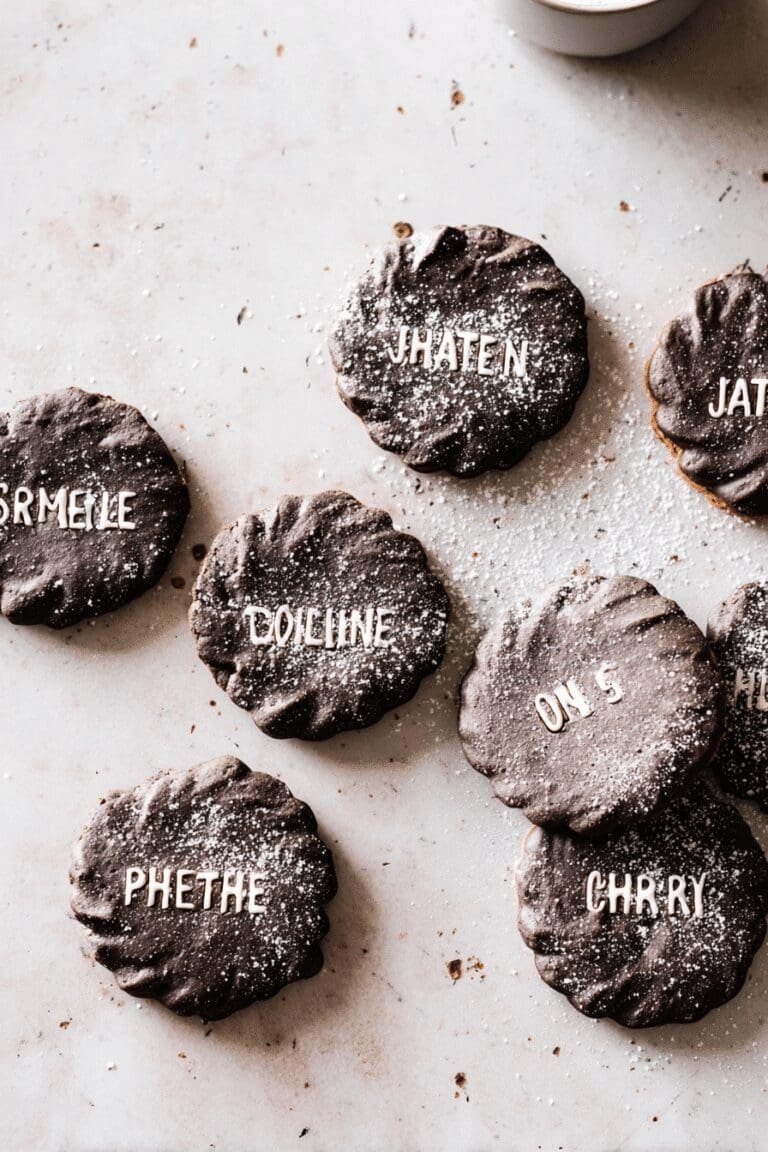
Sixth Step: Forming the Cookies: Shape the dough into small balls and place them on the prepared baking sheets, flattening slightly to desired thickness. For place card cookies, consider making them slightly larger than standard cookies to accommodate writing names later. Leave adequate space between cookies (about 2 inches) to allow for spreading during baking. If the dough feels too sticky, chilling it for 15-20 minutes can make it easier to handle.
Seventh Step: Baking Process: Bake for 10-12 minutes or until edges turn golden brown. The centers should still look slightly underdone as they will continue to cook on the hot baking sheet after removal. Rotate the baking sheets halfway through the baking time to ensure even cooking, especially if your oven has hot spots. For different dietary versions, adjust time slightly as vegan and gluten-free versions may require different baking times.
Final Step: Cooling and Decorating: Remove cookies from oven and allow to cool on the baking sheet for 5 minutes before transferring to wire racks. This cooling period allows the cookies to set, making them easier to move without breaking. Once completely cooled, you can decorate each cookie with names using edible ink, icing, or fine-tip decorating pens. You can find inspiration and techniques for decorated sugar cookies at professional baking resources.
Last Step:
Please leave a rating and comment letting us know how you liked this recipe! This helps our business to thrive and continue providing free, high-quality recipes for you.Notes
🎀 Add hand-tied ribbons to cookies for an elegant presentation.
📝 Include a handwritten enclosure card to personalize messages.
⏰ Order at least 3 business days in advance to ensure timely delivery or pickup.
- Order and preparation time: 3 to 4 business days
- Category: Dessert
- Method: Ready-to-eat
Nutrition
- Serving Size: 1 cookie