Ingredients
– 1 quart (16 ounces) ripe strawberries, washed, hulled and sliced
– 1 tablespoon lemon juice brightens the flavor and balances sweetness
– ⅓ to ½ cup (70-100 grams) sugar, adjust based on the sweetness of the berries
– 1 tablespoon quick-cooking tapioca or 1 tablespoon cornstarch acts as the thickener
– Pinch of salt brings out the flavors and balances sweetness
– ½ cup water (omit if using cornstarch) helps blend and thicken with tapioca
Instructions
1-First Step: Gather and Prep Your Ingredients Start by washing, hulling, and slicing 1 quart of ripe strawberries this ensures they’re ready to go and helps remove any imperfections. Measure out the other items like lemon juice, sugar, your thickener, salt, and water if needed, so everything is on hand. This mise en place step keeps things organized, and because strawberries vary in sweetness, taste one to decide on the sugar amount, making it adaptable for diet-conscious folks.
2-Second Step: Blend the Base Mixture In a blender, combine ½ cup of your sliced strawberries with 1 tablespoon of lemon juice and ½ cup of water if you’re using quick-cooking tapioca; blend until it’s smooth and pourable. This step creates a flavorful liquid base that will thicken the filling nicely. If you prefer cornstarch, skip the water to avoid a watery mix, which is a handy tip for low-calorie versions.
3-Third Step: Mix and Heat the Pot Ingredients In a pot, stir together the sugar, your chosen thickener (1 tablespoon of tapioca or cornstarch), and a pinch of salt until they’re well combined. Pour in the blended strawberry mixture from the blender and heat it over medium until it reaches a boil this typically takes about 5 minutes. For tapioca, simmer it for another 5 minutes to let it thicken properly, while cornstarch just needs to boil briefly, which helps if you’reshortcutshortening prep time.
4-Fourth Step: Add the Remaining Strawberries and Finish Cooking Once theetra mixture is boiling, stir in the rest of the sliced strawberries and cook just until everything starts to simmer again, which should be quick to preserve the fresh texture. Immediately remove it from the heat to keep the berries from breaking down too much, ensuring a chunky filling that’s ideal for no-bake pies or pastries. This is where you can adjust for variations, like adding less sugar for seniors or travelers watching their intake.
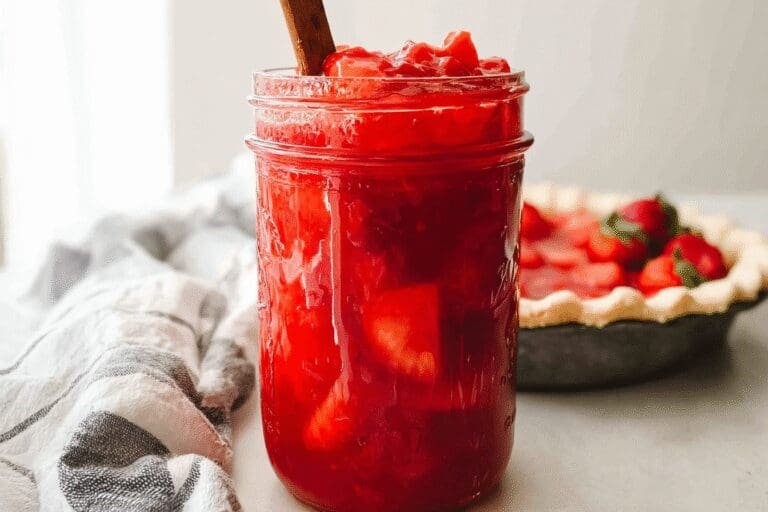
5-Final Step: Cool and Store the Filling Transfer the hot filling to a wide container to help it cool faster, spreading it out evenly so it sets properly. Once it’s at room temperature, you can store it in a jar for later use, and it refrigerates for 3-4 days or freezes for up to 3 months. For the best results, use it in crisps, cakes, or even as a topping, and remember that quick-cooking tapioca gives a better texture than cornstarch for a smooth finish.
Last Step:
Please leave a rating and comment letting us know how you liked this recipe! This helps our business to thrive and continue providing free, high-quality recipes for you.Notes
🍓 Use high-quality, in-season strawberries for the best flavor.
🌿 Quick-cooking tapioca provides a better texture than cornstarch.
🧊 Refrigerate filling for 3-4 days or freeze for up to 3 months; not recommended for canning.
- Prep Time: 20 minutes
- Category: Dessert
- Method: Stovetop
- Cuisine: American
- Diet: Vegetarian
Nutrition
- Serving Size: 1/4 cup
- Calories: 70
- Sugar: 15g
- Sodium: 10mg
- Fat: 0g
- Saturated Fat: 0g
- Unsaturated Fat: 0g
- Trans Fat: 0g
- Carbohydrates: 18g
- Fiber: 1g
- Protein: 1g
- Cholesterol: 0mg