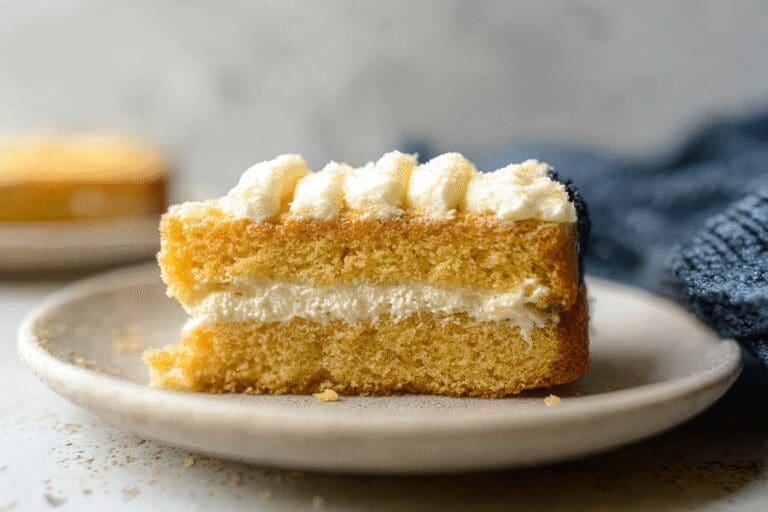
Ingredients
1 box of golden sponge snack cakes
4 large bananas sliced for a fresh layer
1 20-ounce can of crushed pineapple drained
1 5.1-ounce box of vanilla instant pudding mix prepared with milk according to package directions
1 12-ounce container of frozen whipped topping thawed
maraschino cherries and chopped nuts for garnish (optional)
Instructions
1-First Step: Gather and Prep Your Ingredients Start by pulling together all your ingredients to make the process smooth. Cut the golden sponge snack cakes in half lengthwise so they’re ready to layer in a 9×13 inch baking dish with the cream side up this helps them soak up the flavors nicely. While you’re at it, slice the 4 large bananas into even pieces and drain the 20-ounce can of crushed pineapple to avoid any extra moisture that could make your twinkie cake soggy. This step keeps everything organized and adapts easily if you’re watching your diet.
2-Second Step: Arrange the Base Layer Once prepped, arrange the halved golden sponge snack cakes in the bottom of your 9×13 inch baking dish, placing them cream side up for the best absorption. This creates a sturdy base for your homemade twinkie cake, and if you want a gluten-free option, swap in a similar cake alternative here. Make sure they’re snug to cover the dish evenly, setting the stage for the delicious layers ahead in this easy twinkie cake recipe.
3-Third Step: Add the Pudding Layer Prepare the 5.1-ounce box of vanilla instant pudding mix with milk as per the package instructions, then spread it evenly over the arranged snack cakes. This layer adds creaminess and helps bind the flavors, and for a low-calorie twist, use a sugar-free mix to keep things light. Take your time to spread it smoothly, ensuring it reaches the edges for that perfect homemade twinkie cake texture we’ve all come to love.
4-Fourth Step: Layer on the Fruit Next, scatter the drained crushed pineapple over the pudding layer for a burst of tropical taste. Follow that with the sliced bananas, arranging them to cover the surface as much as possible. These fruits not only add natural sweetness but also bring health benefits like vitamins from the bananas, making your easy twinkie cake a smart choice for diet-conscious folks. If you’re adapting for preferences, try fresh pineapple for a twist on the classic how to make a twinkie cake method.
5-Fifth Step: Top and Chill Spread the 12-ounce container of thawed frozen whipped topping over the fruit layers to seal everything in with a fluffy finish. Cover the dish and pop it in the fridge to chill for at least 4 hours though chilling longer lets the flavors meld even better. This step is crucial for a twinkie cake without a tube pan, as it allows the layers to set properly while you handle other tasks.
6-Final Step: Garnish and Serve Before serving, top your twinkie cake with maraschino cherries and chopped nuts if you like, adding a fun crunch and color. This homemade twinkie cake is best enjoyed chilled, and you can slice it into portions for sharing. For more fruit-inspired ideas, check out our wild blueberry preserves jam recipe, which pairs well with desserts like this one.
Last Step:
Please leave a rating and comment letting us know how you liked this recipe! This helps our business to thrive and continue providing free, high-quality recipes for you.Notes
⏲️ Refrigerate the dessert for several hours to achieve the best set and flavor melding.
🍒 Garnish with maraschino cherries and nuts to add color and texture.
🍌 Use ripe bananas for natural sweetness and better flavor contrast with the pudding.
- Prep Time: 15 minutes
- Chill Time: 4 hours
- Category: Dessert
- Method: No-Bake, Refrigerated
- Cuisine: American
- Diet: Vegetarian
Nutrition
- Serving Size: 1 serving
- Calories: 320
- Sugar: 28g
- Sodium: 210mg
- Fat: 15g
- Saturated Fat: 9g
- Unsaturated Fat: 4g
- Trans Fat: 0g
- Carbohydrates: 40g
- Fiber: 2g
- Protein: 3g
- Cholesterol: 25mg