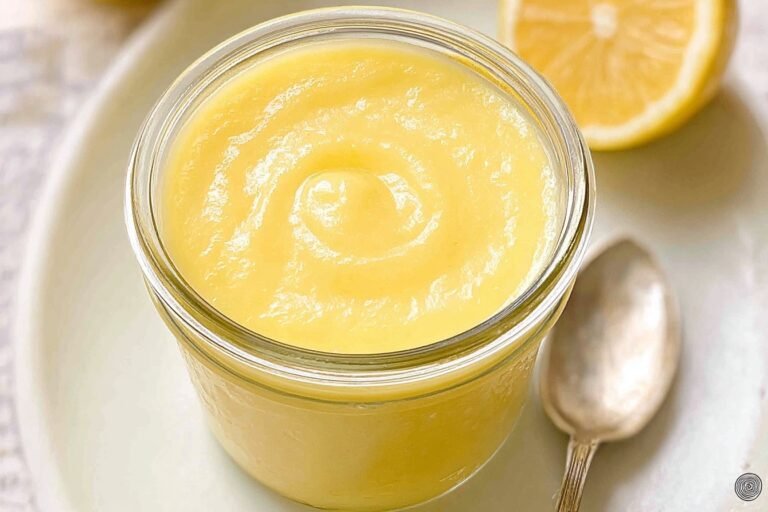
Ingredients
– 4 large egg yolks
– 2/3 cup granulated sugar
– 1 tablespoon lemon zest from about 1 lemon
– 1/3 cup fresh lemon juice from about 2 to 3 lemons
– 1/8 teaspoon salt
– 6 tablespoons unsalted butter, softened and cut into 6 pieces
Instructions
1-First step: Set up your double boiler Fill the bottom of a double boiler with 1 to 2 inches of water and bring it to a simmer over low heat. If you do not have a double boiler, use a heatproof glass bowl set over a pot of simmering water. This gentle setup helps prevent the eggs from scrambling and keeps the curd smooth. Use non-metal tools when possible, because metal can sometimes give the curd a slight metallic taste. A whisk and a heatproof spatula are your best friends here.
2-Second step: Combine the base ingredients In the top pot or bowl, add the egg yolks, sugar, lemon zest, lemon juice, and salt. Whisk everything together until well mixed. The mixture will look thin at first, and that is completely normal. This is where fresh lemon juice really matters. Bottled juice can taste dull or bitter, while fresh lemons give you that sharp, sunny flavor people expect from homemade curd.
3-Third step: Cook slowly while whisking Place the bowl over the simmering water and whisk constantly. Keep the heat low and steady so the eggs cook gently. After about 10 minutes, the mixture should thicken to a texture similar to hollandaise sauce. You are looking for a curd that coats the back of a spoon. If you use a thermometer, aim for 170 degrees Fahrenheit. That is the sweet spot where the eggs are cooked enough to thicken the curd but not so much that they turn grainy. If you want to serve this with other brunch dishes, it pairs nicely with recipes like eggs benedict or even a simple breakfast spread with fresh fruit.
4-Fourth step: Add the butter Once the curd has thickened, remove it from the heat. Add the butter pieces and whisk until fully melted and smooth. The butter gives the curd its glossy finish and richer taste, so do not rush this part. If the mixture looks a little separated at first, keep whisking. It usually comes together quickly once the butter melts in completely.
5-Fifth step: Strain if needed If you want an extra smooth curd, pour it through a fine-mesh sieve into a clean bowl or jar. This step catches any tiny bits of cooked egg or zest. It is optional, but it gives the curd that polished bakery-style texture. Some home cooks skip straining because they like the zest flecks. Either way works, so follow your own texture preference.
6-Final step: Chill and serve Pour the curd into a jar or bowl and cover it with plastic wrap directly on the surface. This keeps a skin from forming while it cools. Refrigerate until thickened further. The prep time is about 5 minutes, the cook time is about 10 minutes, and the total time is about 1 hour and 15 minutes including cooling. Once chilled, it is ready for toast, cake layers, tart shells, or a spoon straight from the fridge, no judgment here.
Last Step:
Please leave a rating and comment letting us know how you liked this recipe! This helps our business to thrive and continue providing free, high-quality recipes for you.Notes
🔥 Use a double boiler or glass bowl over simmering water to gently cook without curdling.
🍋 Always use fresh lemons for zest and juice – bottled lacks the bright flavor.
🧊 Store in fridge up to 10 days or freeze for months; thaw overnight before use.
- Prep Time: 5 minutes
- Chilling Time: 1 hour
- Cook Time: 10 minutes
- Category: Desserts
- Method: Stovetop
- Cuisine: British
- Diet: Gluten-Free
Nutrition
- Serving Size: 2 Tbsp
- Calories: 110 kcal
- Sugar: 12g
- Sodium: 50mg
- Fat: 8g
- Saturated Fat: 5g
- Unsaturated Fat: 3g
- Trans Fat: 0g
- Carbohydrates: 13g
- Fiber: 0g
- Protein: 1g
- Cholesterol: 80mg