Ingredients
1 ¼ cups (150 g) raw shelled pistachios – this forms the base and gives that signature nutty taste we’re after
Instructions
1-Preparing the Nuts: If you’re aiming for that vibrant green color, begin with blanching: bring water to a boil and blanch the pistachios for 30 seconds. Right away, transfer them to an ice bath to cool, then drain and peel off the skins it’s optional, but I find it makes a big difference (skip it if your nuts are already peeled). Once done, spread the pistachios in a single layer on a baking tray to dry them out.
2-Preparing the Nuts: You can let them air-dry overnight at room temperature or pop them in a 250°F (120°C) oven for about 30 minutes, just make sure they don’t brown. Let them cool completely before moving on, as I learned the hard way that warm nuts can turn greasy during grinding. For more tips on using nuts in baking, check out this apple spice crumb muffins recipe on our site.
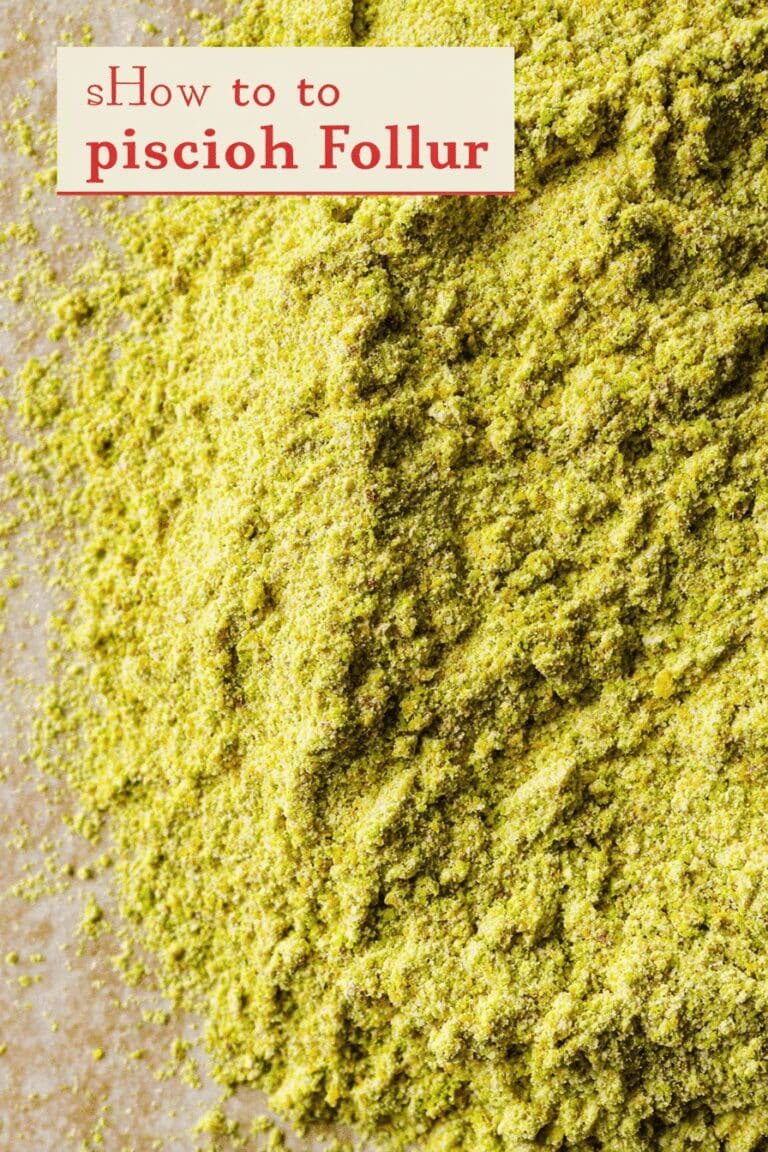
3-Grinding and Sifting: Now, for the grinding step, work in small batches about ½ cup at a time and pulse the cooled pistachios in your food processor just 2-3 times to get that fine flour texture. Be careful not to overdo it, or you’ll end up with pistachio butter, which is tasty but not what we’re after! Once ground, sift the mixture over a bowl to separate the fine flour from any larger bits.
4-Grinding and Sifting: Repeat the process with the coarse pieces: return them to the grinder, pulse briefly, and sift again until you mostly have fine flour. Save about 1 to 2 tablespoons of the bigger chunks for garnishes or even making pistachio butter later. For health insights, learn about the benefits of pistachios to see why this is such a nutritious choice.
5-Storing Your Flour: Finally, store your freshly made pistachio flour in an airtight container in a cool, dry spot, where it’ll last 2 to 3 months, or freeze it for up to a year for longer freshness. I like to portion it out for easy use, and it’s amazing how this simple process opens up so many recipe ideas. With timings like these, it’s perfect for a quick prep session, even on busy days.
Last Step:
Please leave a rating and comment letting us know how you liked this recipe! This helps our business to thrive and continue providing free, high-quality recipes for you.Notes
🌿 Use slivered Turkish or dark green Iranian pistachios for the brightest color and easiest peeling.
⚠️ Avoid roasted, salted, or oily pistachios for best texture and flavor.
🛠️ Grind in small batches and dry nuts completely to prevent clumping and grease formation.
- Prep Time: 15 minutes
- Drying Time: 30 minutes
- Category: Baking Ingredient
- Method: Grinding
- Cuisine: International
- Diet: Vegan, Gluten-Free, Vegetarian
Nutrition
- Serving Size: 15 g