Ingredients
– 60g whole wheat flour This jumpstarts fermentation with its natural nutrients and fibers, helping the yeast and bacteria grow quickly on the first day.
– 60g warm water Used on Day 1 to hydrate the flour and create the initial mixture, ensuring the right moisture level for activity.
– 60g unbleached all-purpose flour Added daily from Days 3-7 to feed the starter, providing a clean base that supports ongoing fermentation without additives.
– 60g water Fed daily from Days 3-7 to maintain the starter’s hydration, keeping the mixture at the perfect consistency for growth each time.
– 60g bread flour An alternative to unbleached all-purpose flour for feedings on Days 3-7, offering a stronger gluten structure that can make the starter more robust if preferred.
Instructions
1-First Step: Day 1 Preparation Begin by combining 60g whole wheat flour and 60g warm water in a clean jar until the mixture is smooth and lump-free. Cover the jar loosely and let it rest in a spot that’s around 70-75°F for 24 hours; this kickstarts the fermentation. Remember to use a consistent environment to help the yeasts activate properly.
2-Second Step: Day 2 Check On the second day, simply check the jar for any bubbles that might have formed, but no further action is needed at this point. Let it rest for another 24 hours at 70-75°F, allowing the natural process to continue building. This waiting period is key for the starter to begin developing.
3-Third Step: Daily Feeding Starting on Day 3 From Day 3 onward, discard half of the starter to keep things balanced, then add 60g unbleached all-purpose flour (or bread flour) and 60g water. Mix it thoroughly, scraping the sides of the jar to incorporate everything evenly, and cover it again for 24 hours at 70-75°F. This feeding routine helps maintain the starter’s health and growth each day.
4-Fourth Step: Continue Feeding Through Day 7 Repeat the process for Days 4 through 7: discard half, add 60g flour and 60g water, mix well, and let it rest for 24 hours at the same temperature. Track the progress by marking the jar’s level with a rubber band after each feeding to see how much it rises. This consistency is crucial for a strong sourdough starter by the end of the week.
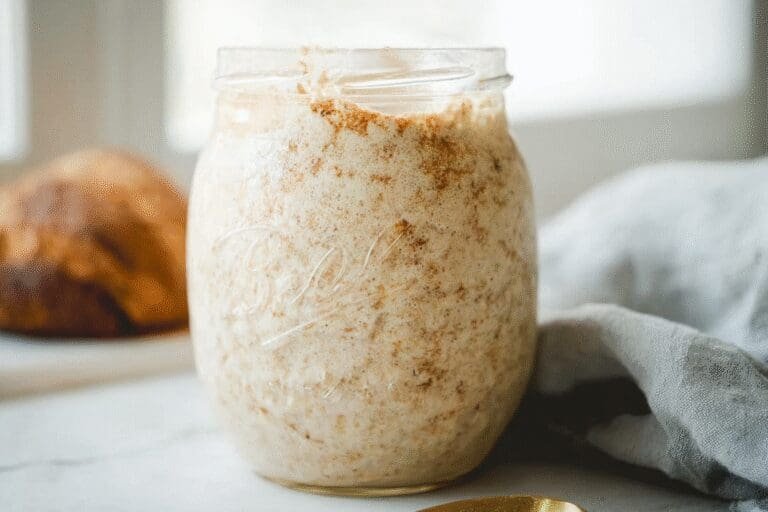
5-Final Step: Checking Readiness on Day 8 By Day 8, your starter should have doubled in size, look bubbly and spongy, and have a pleasant smell, signaling it’s ready to use. If it meets these signs, transfer it to a clean jar for ongoing care; if not, continue feeding until it does. The whole process takes 7+ days with daily feedings, adapting well to vegan diets since no animal products are involved.
Last Step:
Please leave a rating and comment letting us know how you liked this recipe! This helps our business to thrive and continue providing free, high-quality recipes for you.Notes
🌡️ Maintain a consistent temperature of 70-75°F using an oven light or proofing box for best results.
📏 Mark the jar level with a rubber band after feeding to track starter growth.
🧴 Pour off any dark liquid (hooch) before feeding to keep starter healthy.
- Prep Time: 7 days
- Feeding time: 5 minutes daily
- Cook Time: 0 minutes
- Category: Baking
- Method: Mixing, Fermenting
- Cuisine: Universal
- Diet: Vegan
Nutrition
- Serving Size: Varies
- Calories: 0 kcal
- Sugar: 0 g
- Sodium: 0 mg
- Fat: 0 g
- Saturated Fat: 0 g
- Unsaturated Fat: 0 g
- Trans Fat: 0 g
- Carbohydrates: 0 g
- Fiber: 0 g
- Protein: 0 g
- Cholesterol: 0 mg